A bulky floor dispenser can make a compact kitchen or office pantry feel even smaller. The best tabletop water dispensers solve that problem by putting chilled, hot, or room-temperature drinking water within reach without taking up valuable floor space. The right choice is not always the model with the most buttons. It is the one that fits your available counter space, daily drinking habits, water source, and willingness to manage refills or maintenance.
For apartment households, home kitchens, meeting rooms, reception counters, and small offices, a tabletop dispenser can be a practical upgrade from bottled water, a kettle, and a crowded refrigerator. Here is how to compare the options and choose one that will remain convenient after the first week.
What Makes a Tabletop Water Dispenser Worth Buying?
A tabletop water dispenser sits on a stable countertop, cabinet, or dedicated stand rather than directly on the floor. Its smaller footprint is its main advantage, but it still needs enough clearance above and behind it for loading bottles, connecting a water line, or servicing filters.
The best unit for one customer may be a poor fit for another. A household that drinks mostly cold water has different needs from a small office where employees regularly make coffee, tea, or instant meals. Start with the basic question: do you need water delivered from a bottle, from a direct water connection, or from an internal filtered reservoir?
Also think beyond the dispenser itself. A low purchase price can be less attractive if it requires frequent bottle deliveries, difficult filter changes, or costly repairs. A dependable dispenser package should make daily drinking water easier, not create another task to manage.
Best Tabletop Water Dispensers by Water Source
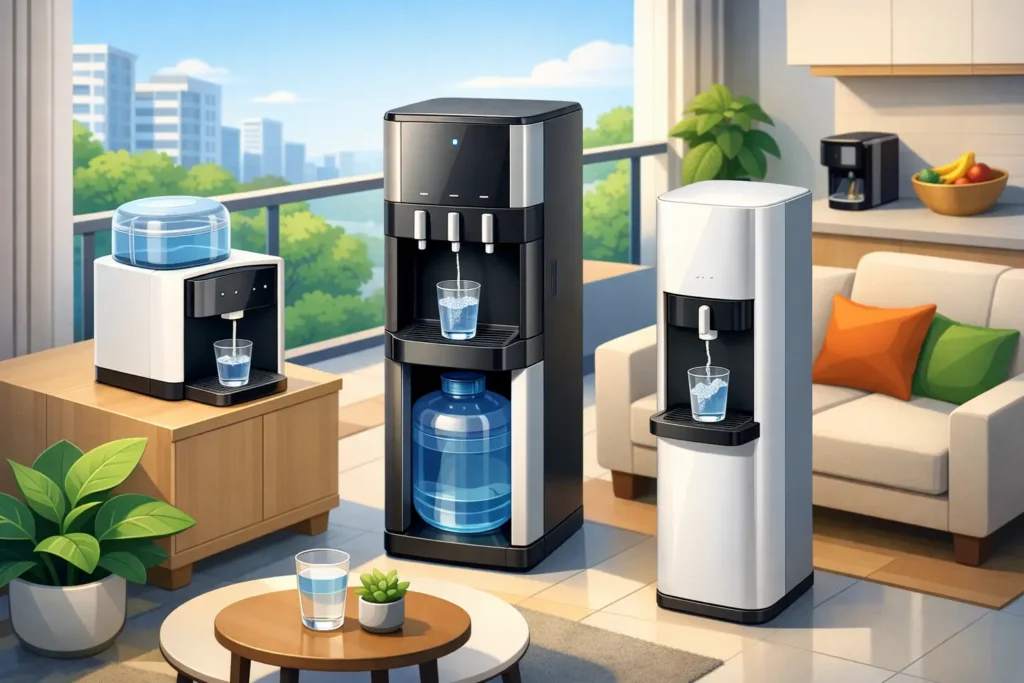
Bottle-fed tabletop dispensers for flexible placement
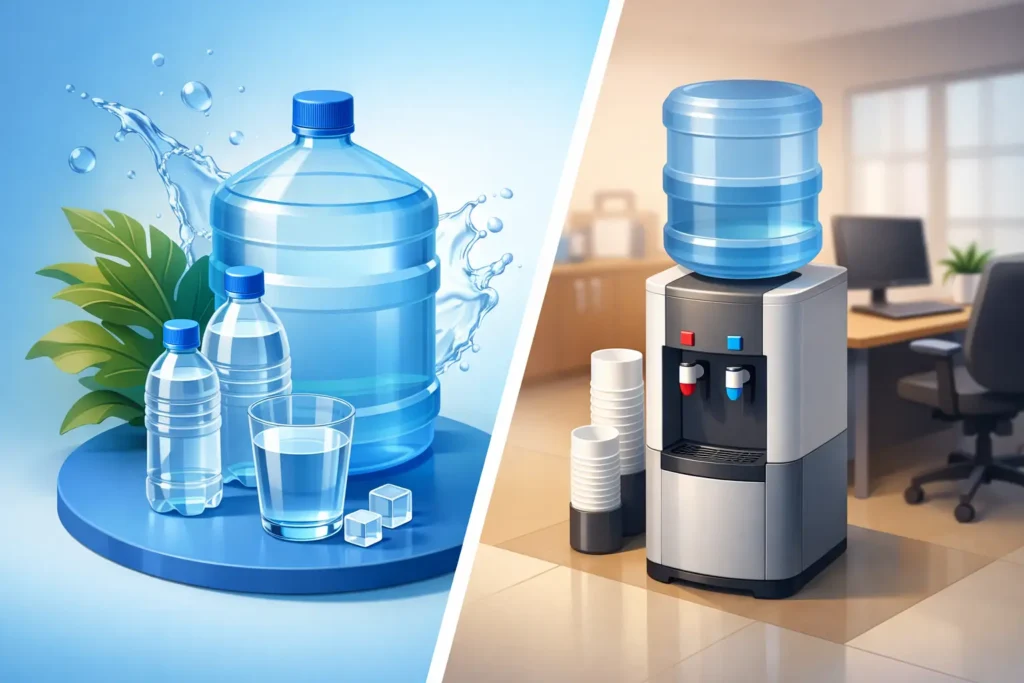
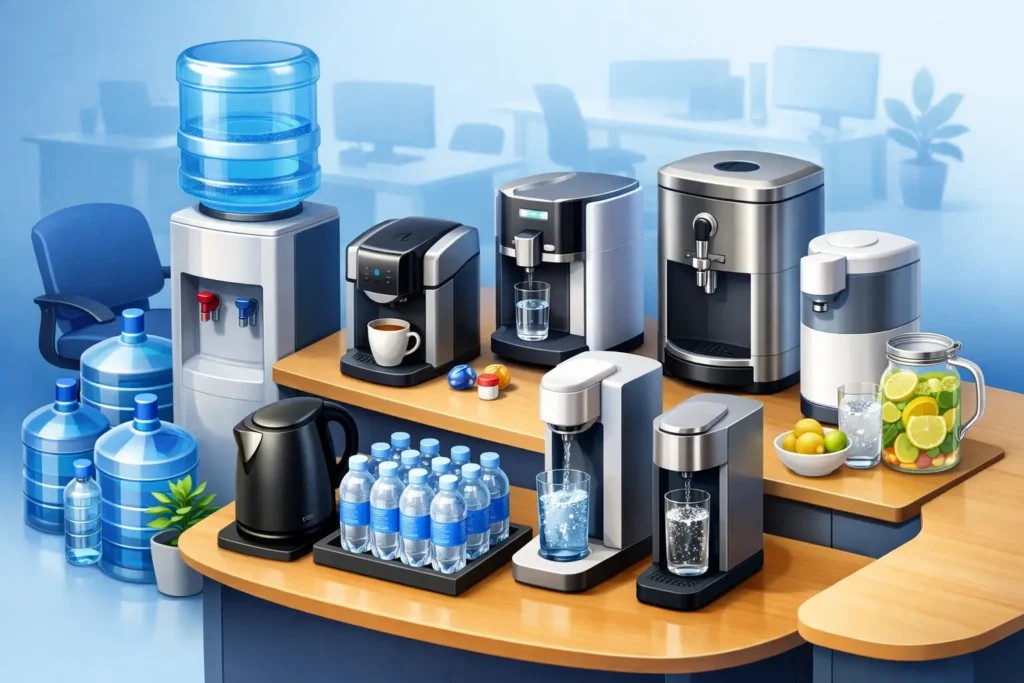
Bottle-fed dispensers are a familiar option for homes and workplaces that do not want plumbing work. A water bottle is placed on top of the unit, and the dispenser provides water through separate taps or a single controlled outlet. They are useful when the dispenser needs to move between rooms or when a rented office does not allow modifications to its water supply.
The trade-off is storage and handling. Full water bottles are heavy, and someone needs to order, receive, lift, and replace them. Before choosing this style, check the bottle size the dispenser accepts and make sure there is room to store spare bottles without blocking a walkway or pantry area.
Direct-pipe tabletop dispensers for everyday convenience
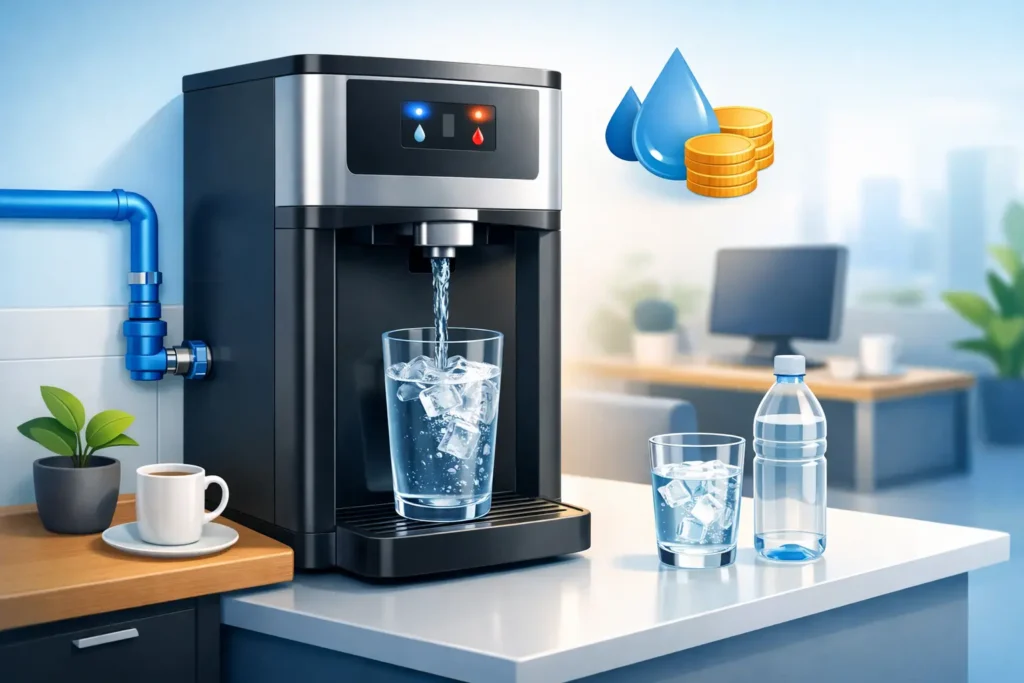
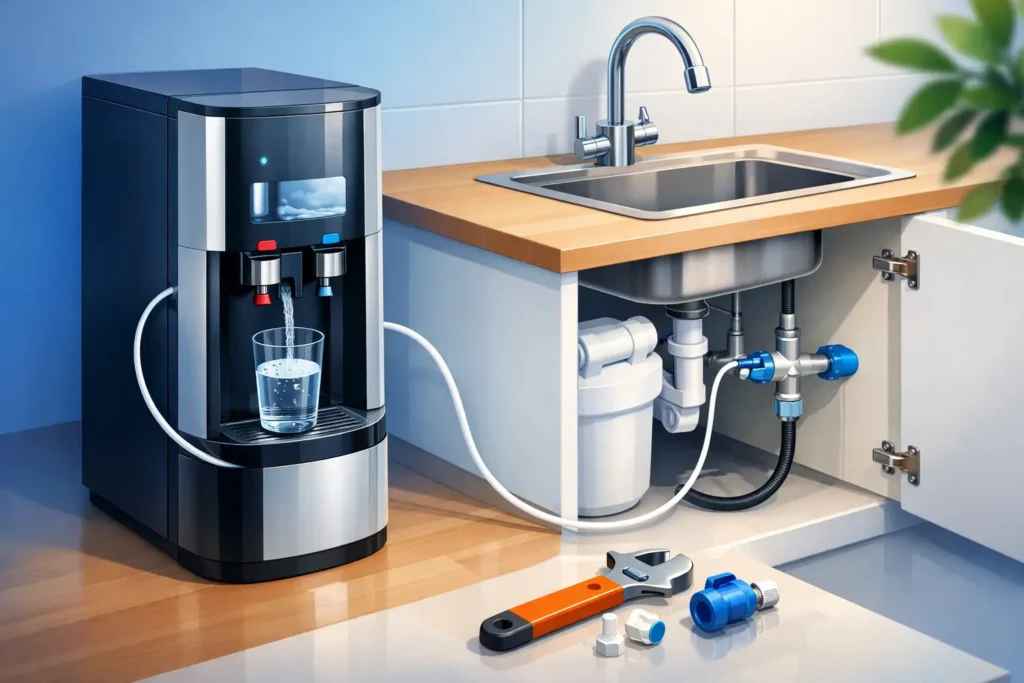
A direct-pipe dispenser connects to an existing water supply and filters water as part of the dispensing process. For busy households and small offices, this is often the easiest long-term arrangement because there are no bottles to lift and no deliveries to schedule. It is especially helpful in places where many people fill bottles throughout the day.
Installation is the deciding factor. The dispenser should be located near a suitable water connection, and professional installation helps keep the setup tidy and dependable. If your counter is far from a water point, ask whether the pipe route will be practical before selecting a model. A good service provider will assess this first rather than treating installation as an afterthought.
Filtered reservoir dispensers for simple, lower-volume use
Some compact tabletop units use a manually filled reservoir with a filter inside. They can work well for a single person, a couple, or a small desk area where plumbing and large bottles are not realistic. They are also usually straightforward to set up.
Their limitation is volume. The reservoir must be refilled regularly, and performance depends on replacing the filter on schedule. This type is best for light use, not for a family that fills multiple bottles each morning or an office with a steady stream of visitors.
Choose Temperature Features Based on Real Habits
A cold-water function is often the first feature buyers want, particularly in warm climates or active offices. Check whether the dispenser can maintain a useful cold temperature during busy periods. A small cooling tank may be perfectly adequate for two people but can struggle when several people fill large bottles one after another.
Hot water is valuable when you regularly prepare tea, coffee, oatmeal, or instant food. However, it adds an important safety consideration in homes with young children. Look for a child-safety lock on the hot-water control and place the dispenser where children cannot easily pull at the taps or reach hot water.
Room-temperature water is easy to overlook, but many households use it more than expected for drinking, cooking, or taking medication. A three-temperature dispenser offers the most flexibility, while a cold and room-temperature model may be the more sensible choice if hot water would rarely be used. Paying for every feature available is not the same as choosing the right feature set.
Size, Capacity, and Counter Space Matter More Than You Think
Measure the location before comparing models. Record the width and depth of the counter, then account for overhead cabinets, wall clearance, and the room needed to open a bottle compartment or remove a filter. A tabletop dispenser should not sit right at the counter edge, near a stovetop, or beside electronics that could be damaged by an accidental spill.
Capacity matters too. In a small home, a compact unit with moderate cooling and heating capacity can be enough. In a small office, demand rises quickly around breaks and meetings. If ten employees use the dispenser, choosing a unit based on one person’s daily use will lead to slow recovery times and frustration.
Noise is another practical concern. Cooling systems can make a low hum or occasional operational sound. For a bedroom-adjacent kitchen, a quiet home office, or a client-facing reception area, ask about expected noise levels before committing.
Filtration Should Be Clear, Not Complicated
If you choose a dispenser with filtration, you should know what the filter is designed to address, how often it needs replacement, and who will perform the service. Different water conditions and source-water concerns can call for different filtration approaches. A general-purpose filter may improve taste and reduce common impurities, while a more specialized setup may be appropriate where water quality requirements are different.
Do not rely on vague claims such as “pure water” without asking practical questions. What filter stages are included? What is the replacement interval? Is replacement based on time, water usage, or both? Is there an indicator that tells you when service is due? Clear answers make ownership predictable.
For direct-pipe systems, regular filter replacement is central to performance. For bottle-fed systems, cleaning and sanitizing the dispenser is just as important. The water source may be sealed, but taps, drip trays, and internal components still need routine attention.
Compare Ownership and Rental Options Carefully
Buying a tabletop dispenser can make sense when you know exactly what you need and prefer to own the equipment. Renting can be attractive when it includes installation, scheduled servicing, and filter changes for a predictable monthly payment. Neither route is automatically better.
Compare the full cost over time, including installation, filters, cleaning, repairs, delivery charges for bottled water if applicable, and any rental contract terms. Ask what happens if the unit requires repair and whether a replacement unit is available. For a small office, downtime can be more inconvenient than a slightly higher monthly fee.
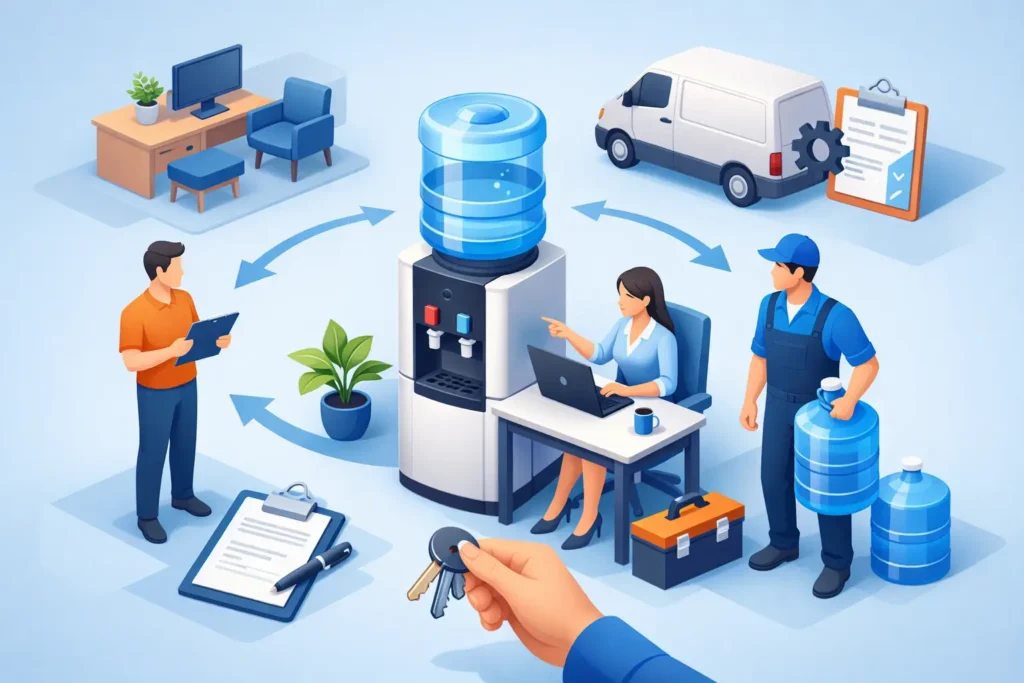
This is where a service-focused provider can make the choice simpler. Waterboy can help customers compare direct-pipe, packaged-water, and rental-based options so the dispenser setup matches the space and expected usage instead of forcing a one-size-fits-all package.
A Simple Way to Make the Final Choice
Choose a bottle-fed tabletop dispenser if flexibility and simple placement matter most, and you are comfortable managing water deliveries. Choose a direct-pipe model if you want a steady supply of filtered water with less day-to-day handling. Choose a reservoir unit only when usage is light and refilling it will not become a nuisance.
Then match temperatures to daily habits, confirm the counter measurements, and get clarity on filter or cleaning service before installation. The best tabletop water dispenser is the one people actually use more often because clean drinking water is easy to get, easy to maintain, and always ready when the next glass is needed.